AWS Accounts
Connect AWS accounts to enable Rapydo to discover and monitor RDS instances.Overview
Prerequisites
Before adding an AWS account, ensure you have:1
Create IAM Role
Create an IAM role in the target AWS account
2
Configure Trust Policy
Configure the trust policy to allow Rapydo to assume the role
3
Attach Permissions
Attach the necessary permissions for RDS and CloudWatch access
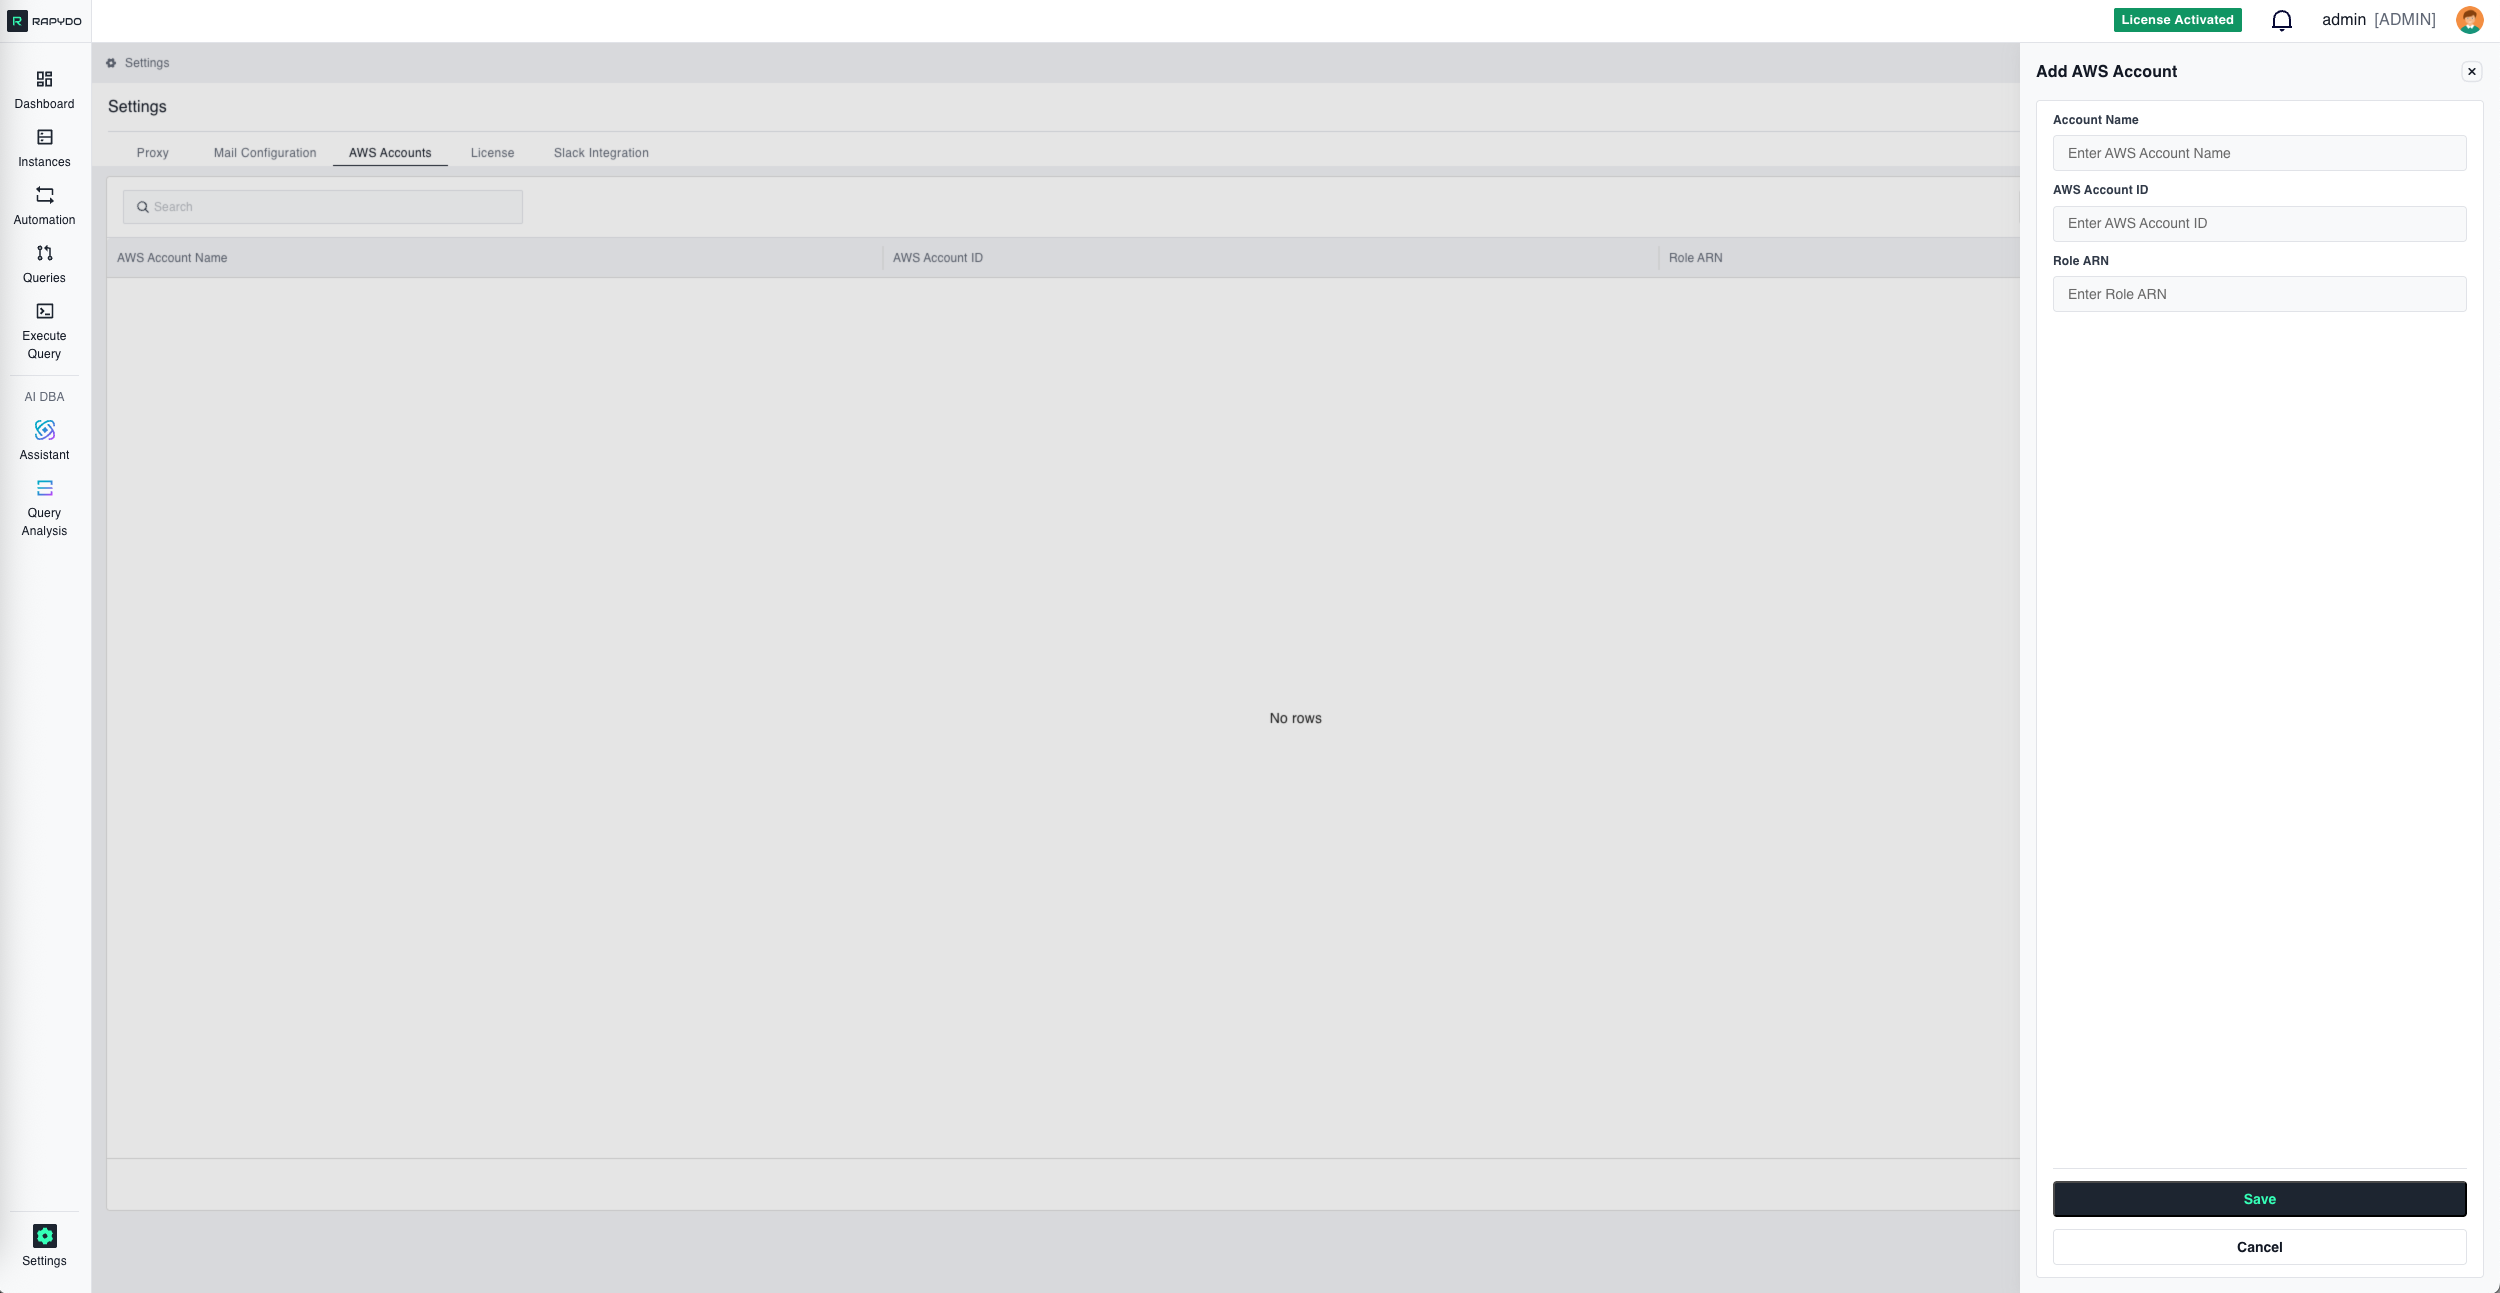
Adding an AWS Account
Click Add AWS Account Configuration to open the configuration form.Configuration Fields
A friendly name to identify this AWS account in Rapydo (e.g., “Production”, “Staging”, “Analytics”).
Your 12-digit AWS account number. You can find this in the AWS Console under your account settings.
The Amazon Resource Name (ARN) of the IAM role that Rapydo will assume to access your account. This role must have permissions to describe RDS instances and access CloudWatch metrics.Example format:
arn:aws:iam::123456789012:role/RapydoMonitoringRoleActions
- Save — Add the AWS account configuration
- Cancel — Discard changes and close the form
Managing AWS Accounts
The AWS accounts list displays all configured accounts with:
Use the action menu on each row to delete existing account configurations.
Table Settings — Customize which columns are displayed in the list.